uni-app 开发鸿蒙应用—uts实现退出app功能(uts鸿蒙插件,退出app功能)
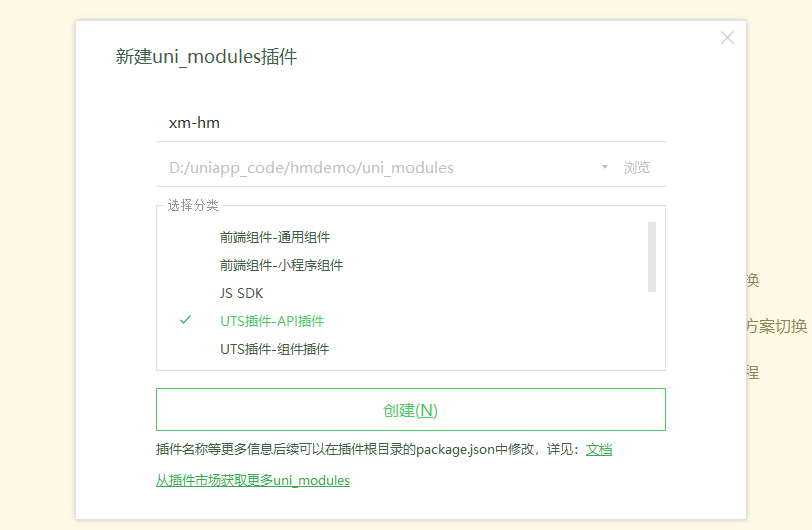
首先创建插件,取名xm-hm ,选择uts api插件
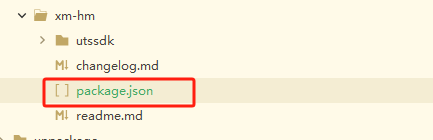
然后去插件目录开始编写
修改package.json 文件
增加api扩展配置
找到uni_modules增加api扩展,示例如下:
"uni_modules": {
    "uni-ext-api": {
        "uni": {
            "outApp":"outApp",

        }
    }
  }
然后修改interface.uts 文件
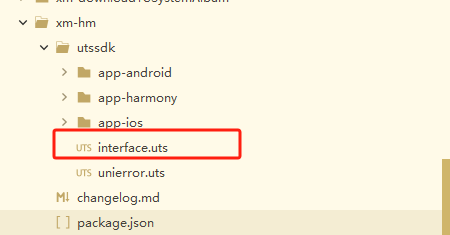
增加如下代码
/**
 * interface.uts
 * uts插件接口定义文件,按规范定义接口文件可以在HBuilderX中更好的做到语法提示
 */

/**
 * myApi 异步函数的参数,在type里定义函数需要的参数以及api成功、失败的相关回调函数。
 */
export type MyApiOptions = {
  paramA : boolean
  success ?: (res : MyApiResult) => void
  fail ?: (res : MyApiFail) => void
  complete ?: (res : any) => void
}

/**
 * 函数返回结果
 * 可以是void, 基本数据类型,自定义type, 或者其他类型。
 * [可选实现]
 */
export type MyApiResult = {
  fieldA : number,
  fieldB : boolean,
  fieldC : string
}

/**
 * 错误码
 * 根据uni错误码规范要求,建议错误码以90开头,以下是错误码示例:
 * - 9010001 错误信息1
 * - 9010002 错误信息2
 */
export type MyApiErrorCode = 9010001 | 9010002;
/**
 * myApi 的错误回调参数
 */
export interface MyApiFail extends IUniError {
  errCode : MyApiErrorCode
};

/* 异步函数定义 */
export type MyApi = (options : MyApiOptions) => void

/* 同步函数定义 */
export type MyApiSync = (paramA : boolean) => MyApiResult


interface Uni {

  /**
   * 退出app
   *
   * @example
   * ```typescript
   * uni.outApp()
   * ```
   * @remark
   * - 该接口需要同步调用
   * @uniPlatform {
     *    "harmony": {
     *      "osVer": "3.0",
     *      "uniVer": "4.23",
     *      "unixVer": "x"
     *    }
   * }
   * }
   * @uniVueVersion 3  //支持的vue版本
   *
   */
  outApp(): void,


}
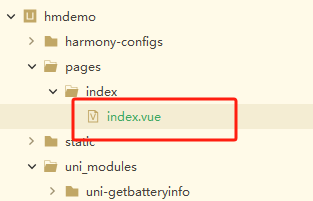
接着创建鸿蒙插件和功能文件,如下图所示(app-harmony目录和index.uts如果不存在则需要手动创建)

打开index.uts文件写入如下代码
import common from '@ohos.app.ability.common';

//退出app
export function outApp(){
    const context = getContext() as common.UIAbilityContext;
    context.terminateSelf();
    console.log('out_app')
}
至此,退出app的uts鸿蒙端插件已经写好了,接下来直接上调用示例 ,将示例代码放入如下文件即可
调用示例代码:
<template>
    <view class="content">
        <image class="logo" src="/static/logo.png"></image>
        <view class="text-area">
            <button class="button" @click="out_app">退出app</button>
        </view>
    </view>
</template>

<script lang="uts">
    import { out_app } from "@/uni_modules/xm-hm"
    export default {
        data() {
            return {
                title: 'Hello',

            }
        },
        onLoad() {

        },
        methods: {
             out_app(){
                  outApp();

             }

        }
    }
</script>

<style>
    .content {
        display: flex;
        flex-direction: column;
        align-items: center;
        justify-content: center;
    }

    .logo {
        height: 200rpx;
        width: 200rpx;
        margin-top: 200rpx;
        margin-left: auto;
        margin-right: auto;
        margin-bottom: 50rpx;
    }

    .text-area {
        display: flex;
        justify-content: center;
    }

    .title {
        font-size: 36rpx;
        color: #8f8f94;
    }
</style>
接下来运行测试一下吧,点击退出即可关闭app啦!
版权声明:
作者:admin
链接:http://blog.mryxh.cn/3894.html
文章版权归作者所有,未经允许请勿转载。
THE END
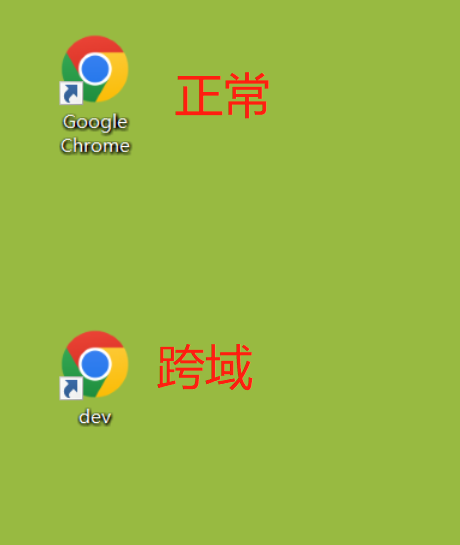
Chrome浏览器的跨域设置----包含新老版本两种设置(亲测可行)
注意:此方案仅适用于windows系统哦!!!--亲测可行
本方案使用于本地浏览器调试,能解决uniapp运行到浏览器引起的跨域问题
这是一篇姗姗来迟的文章,一直在……

uniapp-base64编码解码
对json串(或者普通字符串)进行base64编码
let params={ //我是待进行base64编码的json串
address:'903',
city:'苏州'
}
let parameter = new Bu……

uni-app打开外部链接方式汇总(h5&app)--uniapp在app内打开美团领券链接
本文主要针对app端的方法进行汇总,不涉及到小程序端。
方案1
使用uni-app的扩展组件 uni-link,或者使用plus.runtime.openUR,参考文档uni-app官网
该组件的……
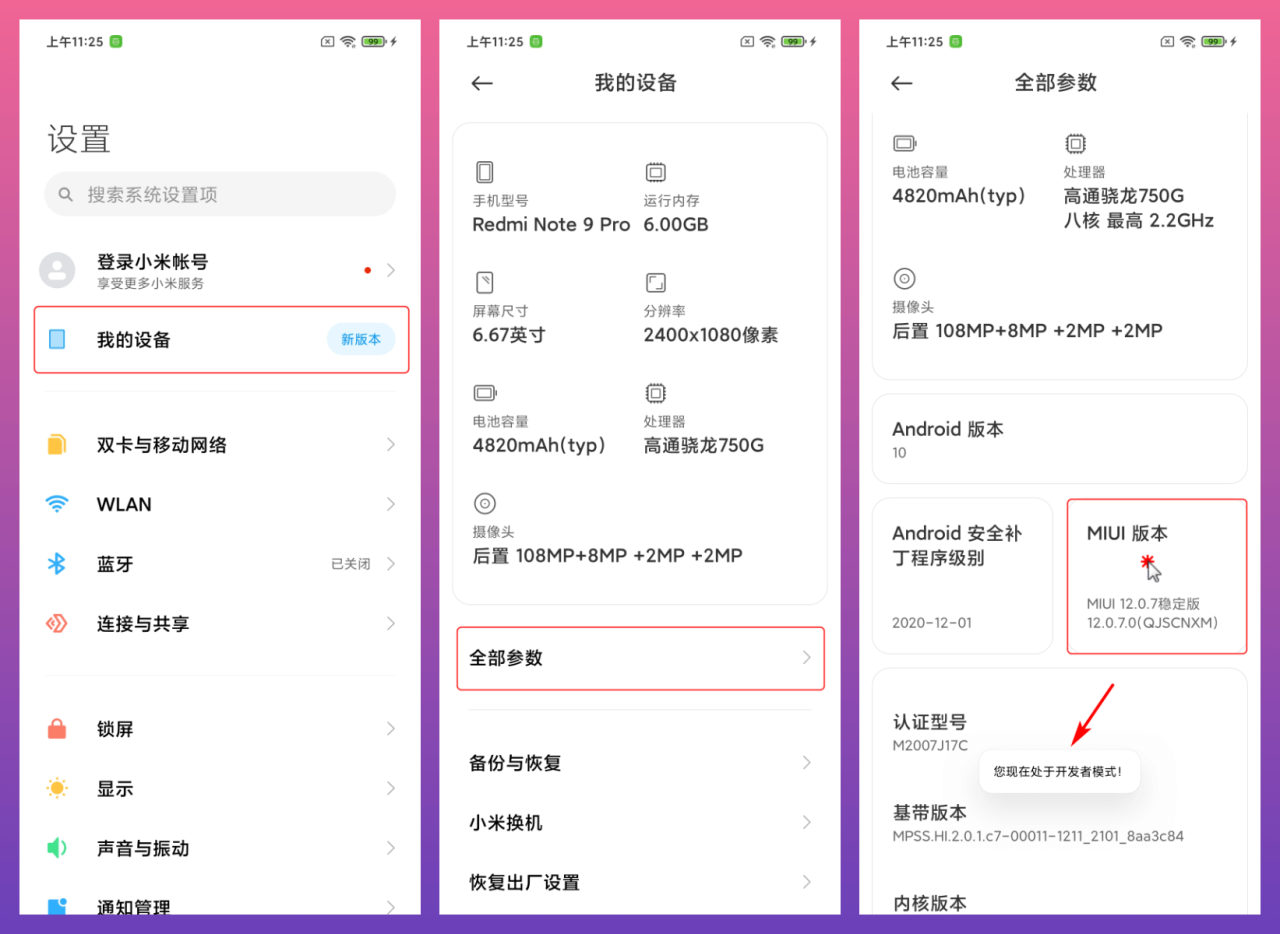
小米(Mi) 红米(Redmi)9A 如何打开“开发者选项”和“USB调试”图文教程
依次点击:手机设置 -> 我的设备 -> 全部参数 -> 连续点击几次“MIUI 版本”,之后便会提示已处于开发者模式。
MIUI 打开“开发者选项”图解
小米手机US……